Hi Readers,
We all face issues with clients where they want my to run RTC for multiple Databases.
Thanks to Kine for providing solution for same.Kamil Sacek (Kine) provided a solution by creating a solution for the same.This can be downloaded from here.
Steps to follow to setup multiple services in NAV R2-


Thanks to Kine for providing solution for same.Kamil Sacek (Kine) provided a solution by creating a solution for the same.This can be downloaded from here.
Steps to follow to setup multiple services in NAV R2-
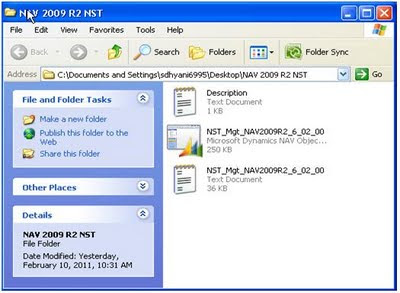
Locate File In the given Folder, file name NST_Mgt_NAV2009R2_6_02_00.
Import the file in any database, go to File à Import.
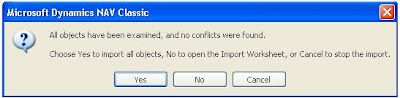
Click No in the message window that appear, it will open the import worksheet.
This Fob will import the below mentioned object into the database.

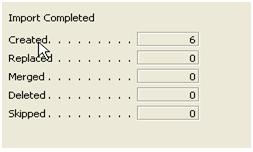
Please check that in Action there is create selected not replace or skip ( NST objects are by default start with object ID 50000, if in the client database there are existing tables with id 50000 and 50001, existing Codeunit with id 50000 and page with id 50000, 50001 and 50002, the please call some technical consultant with last Customized Table, Codeunit and Page ID and tell him to replace the ids of the the NST object by using the text file shown in Step1.)
After importing the objects you are supposed to get this message only.
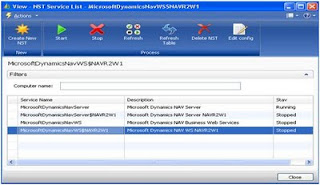
Run Page NST Service List, it will display a message, Select Allow this time, but ask next time and hit OK.

This action will open the NST Service List Page, which will display the current NAV Services and their status.

For creating a new service, Click on create new NST. This will open a new window.

In the service Name, Enter a User Defined Name for the new service (I named it NAVR2W1 as I am creating a service for the W1 database of R2).
Select the template path name of the Navision Installation (Default Value is C:\Program Files\Microsoft Dynamics NAV\60\Service).
Enter the SQL Server Name or IP Address; I am using my local SQL Server.
Select the database from the list for which you want to create service.
Click on Check Box if you want to create the web service also.

After creating service it will display a message shown below.

After Clicking ok Click on the refresh table button from the menu. Now it will display Two web services and two Navision Server Services.

Go to Run, Services.msc and start the new service named as MicrosoftDynamicsNavServer$NAVR2W1.

Now Run the R2 Client.

The Default Cronus India Database will get open. Now Click on Microsoft Dynamics NAV drop down button and click on select server.

Replace DynamicsNAV with name given for new service (in my case that is NAVR2W1)and press TAB.

Click Ok.

W1 Database started.
Thanks & Regards
Saurav Dhyani
www.sauravdhyani.com
Comments
Post a Comment