 Hi Readers,
As discussed in the last article, we will discuss steps to set up a new database with the Business central Wave 2 2019 release.
This is a long process so I would suggest the following steps when you have free time.
As there is no Development Environment all the steps need to be done via Powershell. So let's open Powershell ISE and start hacking.
Pre-Requisites -
- Create a Folder Install in C Drive.
- Copy BaseApp and System Application from Product DVD (Application Folder) into this folder.
- Copy Business Central Wave 2 License File in Install Folder.

1. Open Powershell and Create a New database as discussed earlier in this article.
- Database Name - Customer Database
- Database File Path - D:\Databases
New-NAVApplicationDatabase -DatabaseName "Customer Database" -DatabaseLocation "D:\Databases" -DatabaseServer "localhost"


2. Setup Service for New Database.
Create a new service tier BC150Blog and map it to the database.

3. Setup Web Server Instance for New Service.
Create a New Web Server Instance for BC150Blog Service. (Read Here)

3. Setup Web Server Instance for New Service.
Create a New Web Server Instance for BC150Blog Service. (Read Here)
4. Import Developer License in the database using Powershell as discussed earlier in this article.
Import-NAVServerLicense -LicenseFile <FilePath> -ServerInstance <ServiceName>


5. Restart Service Tier.
Restart-NAVServerInstance -ServerInstance <ServiceName>


In this step, we will define the Build Number of Product for the database.
Set-NAVApplication -ApplicationVersion <ProductVersion> -ServerInstance <ServiceName> -Force

7. Set Application Family for the database. (Setting up Localization for the database)
In this step, we will define the Localized Version of the database. For World Wide Version we will use W1.
Set-NAVApplication -ApplicationFamily <Localization> -ServerInstance <ServiceName> -Force

8. Synchronize Tenant.
Sync-NAVTenant -ServerInstance <ServiceName> -Mode Sync

9. Publish System App Symbols
** Default Path is specified below. If you have changed the path during installation the update in cmdlet below.
Publish-NAVApp -Path "C:\Program Files (x86)\Microsoft Dynamics 365 Business Central\150\AL Development Environment\System.app" -ServerInstance <ServiceName> -PackageType SymbolsOnly

10. Publish Microsoft_System Application
Publish-NAVApp -Path "C:\Install\System Application\Source\Microsoft_System Application.app" -ServerInstance <ServiceName>


11. Sync & Install System App
Sync-NAVApp -Name "System Application" -ServerInstance <ServiceName>
Install-NAVApp -Name "System Application" -ServerInstance <ServiceName>


12. Publish Microsoft_Base Application
Publish-NAVApp -Path "C:\Install\BaseApp\Source\Microsoft_Base Application.app" -ServerInstance <ServiceName>
** This step will take time as its the big set of object.

** This step will take time as its the big set of object.

13. Sync & Install Base App
Sync-NAVApp -Name "Base Application" -ServerInstance <ServiceName>
Install-NAVApp -Name "Base Application" -ServerInstance <ServiceName>

14. Restart NAV Service Tier.
Restart-NAVServerInstance -ServerInstance <ServiceName>


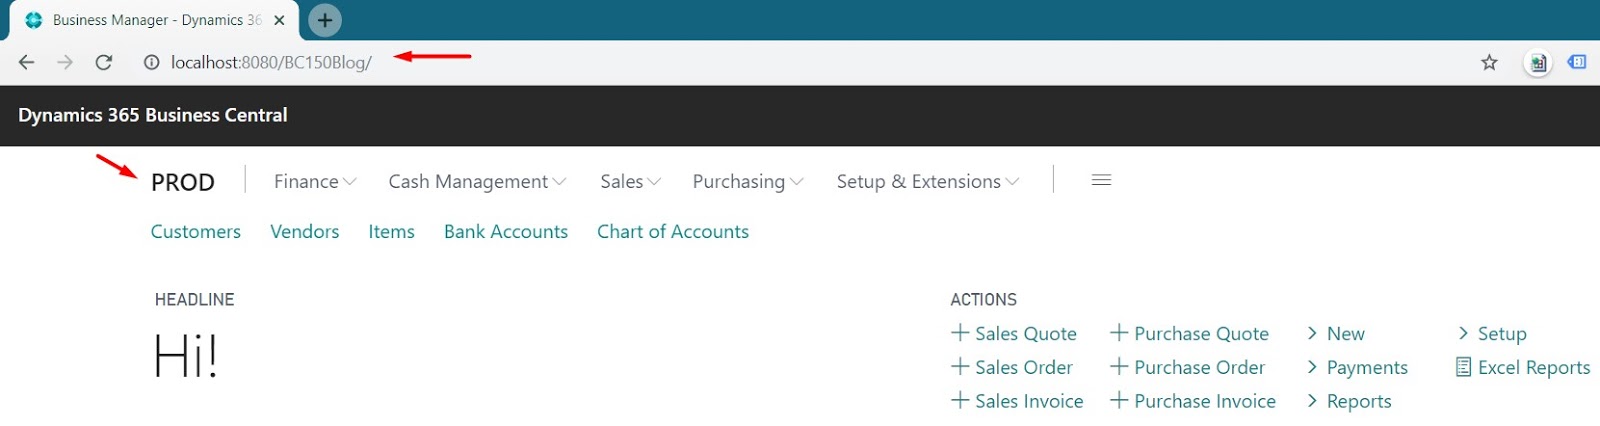
15. Create a New Company in Database.
We cannot log in to a Database without a company. So let's create a company in the new database.
New-NAVCompany -CompanyName PROD -ServerInstance <ServiceName> -CompanyDisplayName PROD
We cannot log in to a Database without a company. So let's create a company in the new database.
New-NAVCompany -CompanyName PROD -ServerInstance <ServiceName> -CompanyDisplayName PROD

With Business Central 2019 Wave 2, Microsoft has split objects into two apps - Business and Application.
These two apps are part of the product DVD in the Application Folder.
You Can Download Powershell cmdlet from GITHUB.
Hope you find the information useful.
Let me know your views as a comment on this article.
Stay tuned for more.
Regards,
Saurav Dhyani
www.sauravdhyani.com
Please give an article on upgrade from nav 2018 to BC 15 or BC 13/14 to BC 15
ReplyDeleteSure @Rihan. It will be getting published anytime now.
DeleteThanks for all the information you are providing along the way. Really appreciated. And i have to say after reading this post, creating a database should be more simple than this. It was just 10 seconds job back in the days and i really feel like a dinosour most of the time nowadays.
ReplyDeleteYes it is dinosour task but I think its getting complicated because as per Microsoft everyone should be on SASS where new database creation is easy on SASS.
Delete